Tags and Comments View
The Tags and Comments View in FontAgent® displays custom tag and comment font metadata including tags that are synced from other machines or users in your organization. To display the view, select Tags and Comments in the bottom pane of FontAgent's main window. Then select fonts or sets to see tags associated with your selection. When you select multiple fonts, tags that are common to the fonts are displayed.

How Tags Work
Tags are simple descriptors that you assign to fonts and sets to associate them with topics, projects, collections -- whatever you want. As you create tags, FontAgent add them to your database. It also tracks which tags you have assigned to which fonts and sets. FontAgent allows you to:
- Create new tags
- Delete tags from your database
- Assign tags to fonts and sets
- Remove assigned tags from fonts and sets
- Rename tags globally across all your fonts
- Share tags with others in your workgroup (FontAgent Sync or Server required)
Tagging Functionality
As you create tags, FontAgent adds them to your database. It also tracks which tags you have assigned to which fonts and sets. FontAgent allows you to:
- Create new tags
- Delete tags from your database
- Assign tags to fonts and sets
- Remove assigned tags from fonts and sets
- Rename tags globally across all your fonts
- Share tags with others in your workgroup (FontAgent Sync or Server required)
Assigning Tags to Fonts
To assign tags to fonts, follow these steps:
- Select one or more fonts.
- Type in a tag in the Add tags text field in the upper right corner of the view. To enter more than one tag at a time, place a comma between the tags.
- Press Enter.
If you enter a tag that is not yet in your database, FontAgent adds the tag to the database automatically.
To enter more than one tag at once, place a comma between tags.
Removing Tags from Fonts
To remove a tag assigned to a font, click the X that appears before the tag. This operation removes the tag from the selected fonts, not the database.
Deleting Tags from Your Database
FontAgent provides multiple ways to delete tags from your database and all associated fonts.
Deleting tags from the FontAgent menu
- Select Tools>Tags>Edit from the FontAgent menubar.
- In the Font Tags window click the trashcan icon for the tag you wish to remove from the database.
- The window will warn you that the tags will be removed from the database and all associated fonts.
- Click OK to delete the tag.
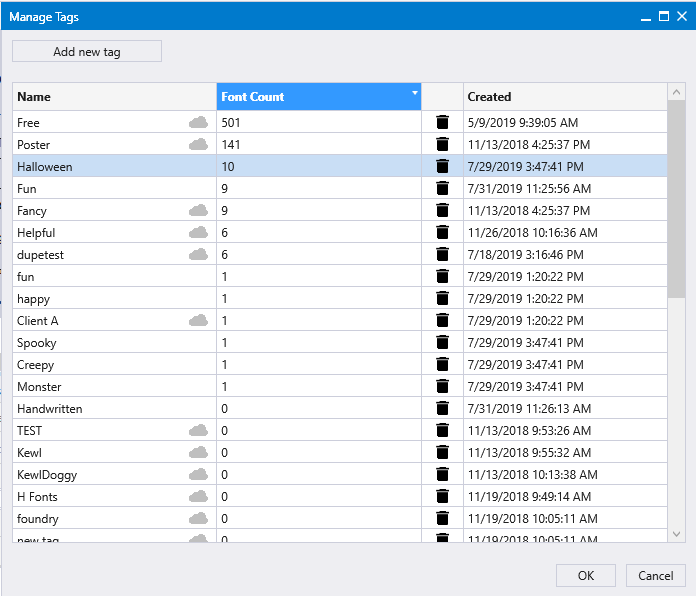
Deleting tags from the Tags and Comments View
You can also use the Tags and Comments view to delete tags from your database be following these steps:
- Click the Tags button in the upper right corner of the Tags and Comments View.
- In the Tag View pop-up, click the trashcan icon for the corresponding tag you wish to remove from the database.
- The Tag View pop-up window will warn you that the tags will be removed from the database and all associated fonts.
- Click OK to delete the tag.
Renaming Tags
To rename a tag in your FontAgent database, simply click on the text of the name you wish to edit in the Manage Tags pop-up window (select Manage All Tags in the Tags and Comments View) and edit the text of the name directly.

Once you have edited the text, press Enter and FontAgent changes the tag name on all fonts associated with the tag to the new name.
Sharing Tags
To share your tags with other users, select any or all of your tagged fonts and click the Share button in the FontAgent Toolbar.
Entering Comments
To add comments to a selected font, follow these steps:
- Click inside the text field in the Tags and Comments view.
- Enter the text of your comment into the text field.
- Click Save to apply your comment to the selected font. Click Revert to undo changes that you have entered.
